MENU

Showing posts with label LIFESTYLE. Show all posts

Tuesday, August 8, 2017

Quick Wardrobe Switch


Hey guys! I’m currently recovering from running a great but intense two-week summer course. More on that soon, but for now I’ll talk about an issue that plagues many geologists and/or people who do a lot of field work: needing a quick wardrobe change! I can’t say how many times that I’ve had a long day out in the field but I need to pop into school or the office for a quick meeting without going home. Here are a few tips:

Opted for my comfy lululemon jacket while I studied.

1.)   Add a formal jacket/blazer and change your shoes!
2.)   Wear jeans if you can.
3.)   Bring extra deodorant.

Wearing my crocs flats!

These before and after pictures were on a day where I needed to study for most of the day but wanted to go out with S later that evening for pho. I just opted for comfy jeans and a shirt for my library time. Then I switched out the shoes and added a blazer to finish a new look, and voila! Date outfit all set! For a more extreme change like going directly from active field work to a meeting, I’d recommend possibly changing the base shirt, too. And, on hot days, that’s when the deodorant comes in handy too!

If you feel like maybe your wardrobe is a bit sparse, here are some shopping ideas for you:

Link to the jacket here.

These flats are so pretty and look comfortable!


I like to have at least one of every clothing item in black because it’s so easy to work with. These jacket and flats seem both affordable and pretty decent quality. So let me know if you end up getting either of these! I’m tempted to try out the flats, and I’ll let you know if I do!

Wednesday, April 26, 2017

Thrifty Travel Tips


Happy hump day, fellow nerds! It's been a while since I posted, primarily because I've been editing my thesis proposal nonstop. Since it's a rainy day and I have a lot of desk work today, I figured I'd take a break to day dream about my vacation with S to Puerto Rico and share some travel tips that we've learned over the years:

A few photos from our trip!
We had a great time in Puerto Rico and I think we were able to enjoy the trip without breaking the bank. So here are our thoughts:

1.)   Choose home rentals over hotels. While a lot of hotels are pricing competitively with the emerging market share industry of home rentals, I’m still getting amazing deals from renting homes. We usually go to AirBnB for our rentals.
2.)   Use budget airfare apps and websites.  S and I used Hopper to get to Puerto Rico for less than $250 roundtrip per ticket.
3.)   Make your own meals. This will be perfect if you rent a place with a kitchen. S and I eat either one or no meals out when we stay in a place with cooking capacity. We usually eat an easy hot breakfast (e.g. eggs, toast, tea, etc.) and we have sandwiches for lunch. It’s amazing how much not eating out makes a difference in a budget.
4.)   Do the free stuff. When I visit a new place, I love exploring and seeing as much of the place as I can. Now that I’m on a budget, I’m realizing that a lot of activities (and in my opinion the most interesting stuff) are free! Outdoor activities like swimming, hiking, or biking are usually pretty cheap with the right gear. Museums often have suggested donations and student discounts. Make a list of all the free and discounted stuff before you get there so you don’t feel unnecessary pressure to blow cash when you’re in the middle of it.
5.)   Visit friends. As someone who deeply values building long-term relationships, I care about keeping in touch with friends and family no matter how far and wide they spread. That means that my door is always open to them, and it also means that I usually prioritize visiting places where my friends and family have moved. A convenient part of visiting friends means that you may not have to pay for a place to stay if they have the room. More than that, it’s a unique experience to catch up with old friends in a new place and to learn about the place they now call home.
6.)   Get TSA Pre-check and/or Global Entry. For $85, you get to forego long lines and you don’t need to take off shoes and whatever else. It’s worth the time you save, so that you don’t have to go to the airport early just to wait in long lines.
7.)   Invest in ear plugs, eye covers, and a neck doughnut. Our budget plane trips often lead to red eye flights, but it’s amazing how easy it is to sleep upright with a few gadgets.

So good luck with your travel plans and let me know if you have any questions or suggestions in the comment section below!

Wednesday, March 29, 2017

Home Office Zen

 
My desk at home! With my computer screen on my "Arabic Word of the Day" e-mail!

Hey geo-nerds! I've gotten a few questions about my office set up and, since it's Spring Cleaning season and I'm all about revitalizing spaces, I figured that I would talk about how I find my zen in a home office environment. I admit, it can definitely be hard to find focus in a place where there are often so many extractions, but with a little attention to detail you can create a zen-rich work place at home.

As you can see from the photo above, my desk layout is pretty simple and minimalist. I got my desk online on Amazon. My chair is from Target, but I couldn't find my original chair so I'd recommend this one from Stein Mart, and my lamp is from IKEA. I always like to start filling a space with white or neutral colors and then building from there with accents, like picture frames, wall color (my current wall is a mellow yellow!), carpet, and curtains. These are more budget-friendly options for my fellow grad school enthusiasts out there, but high-end style like this is available everywhere.

I had a Chinese-German friend in college who diligently adhered to feng shui, so learning from her, I actually found that following a few basic feng shui rules really helps create focus:

1.) Place your desk so that it is in sight of the rooms doorway. You should be able to move your head 90° or less to see the door. If you need to position the desk so that your back faces the door, hang a decorative mirror so that you can see the door from your desk!
2.) Add a plant or two!
3.) Keep your desk free of clutter. I have a mobile portfolio organizer that I just stick in the closet when I'm not working.
4.) Add pictures or imagery that inspires you or reminds you of the importance of your work. For me, it's photos of my research site in Chile.
5.) Make sure to decorate with a balance of both light and dark colors!

Good luck with your office! And feel free to share your personal tips for working at home in the comments below.

Thursday, December 1, 2016

A Foodie's Thanksgiving!


Happy Thursday!

It’s been a really ideal week for the foodie in me, thanks to Thanksgiving and family shenanigans, so I figured I’d share a bit of my meals with you all, plus a recipe from the Syrian family.


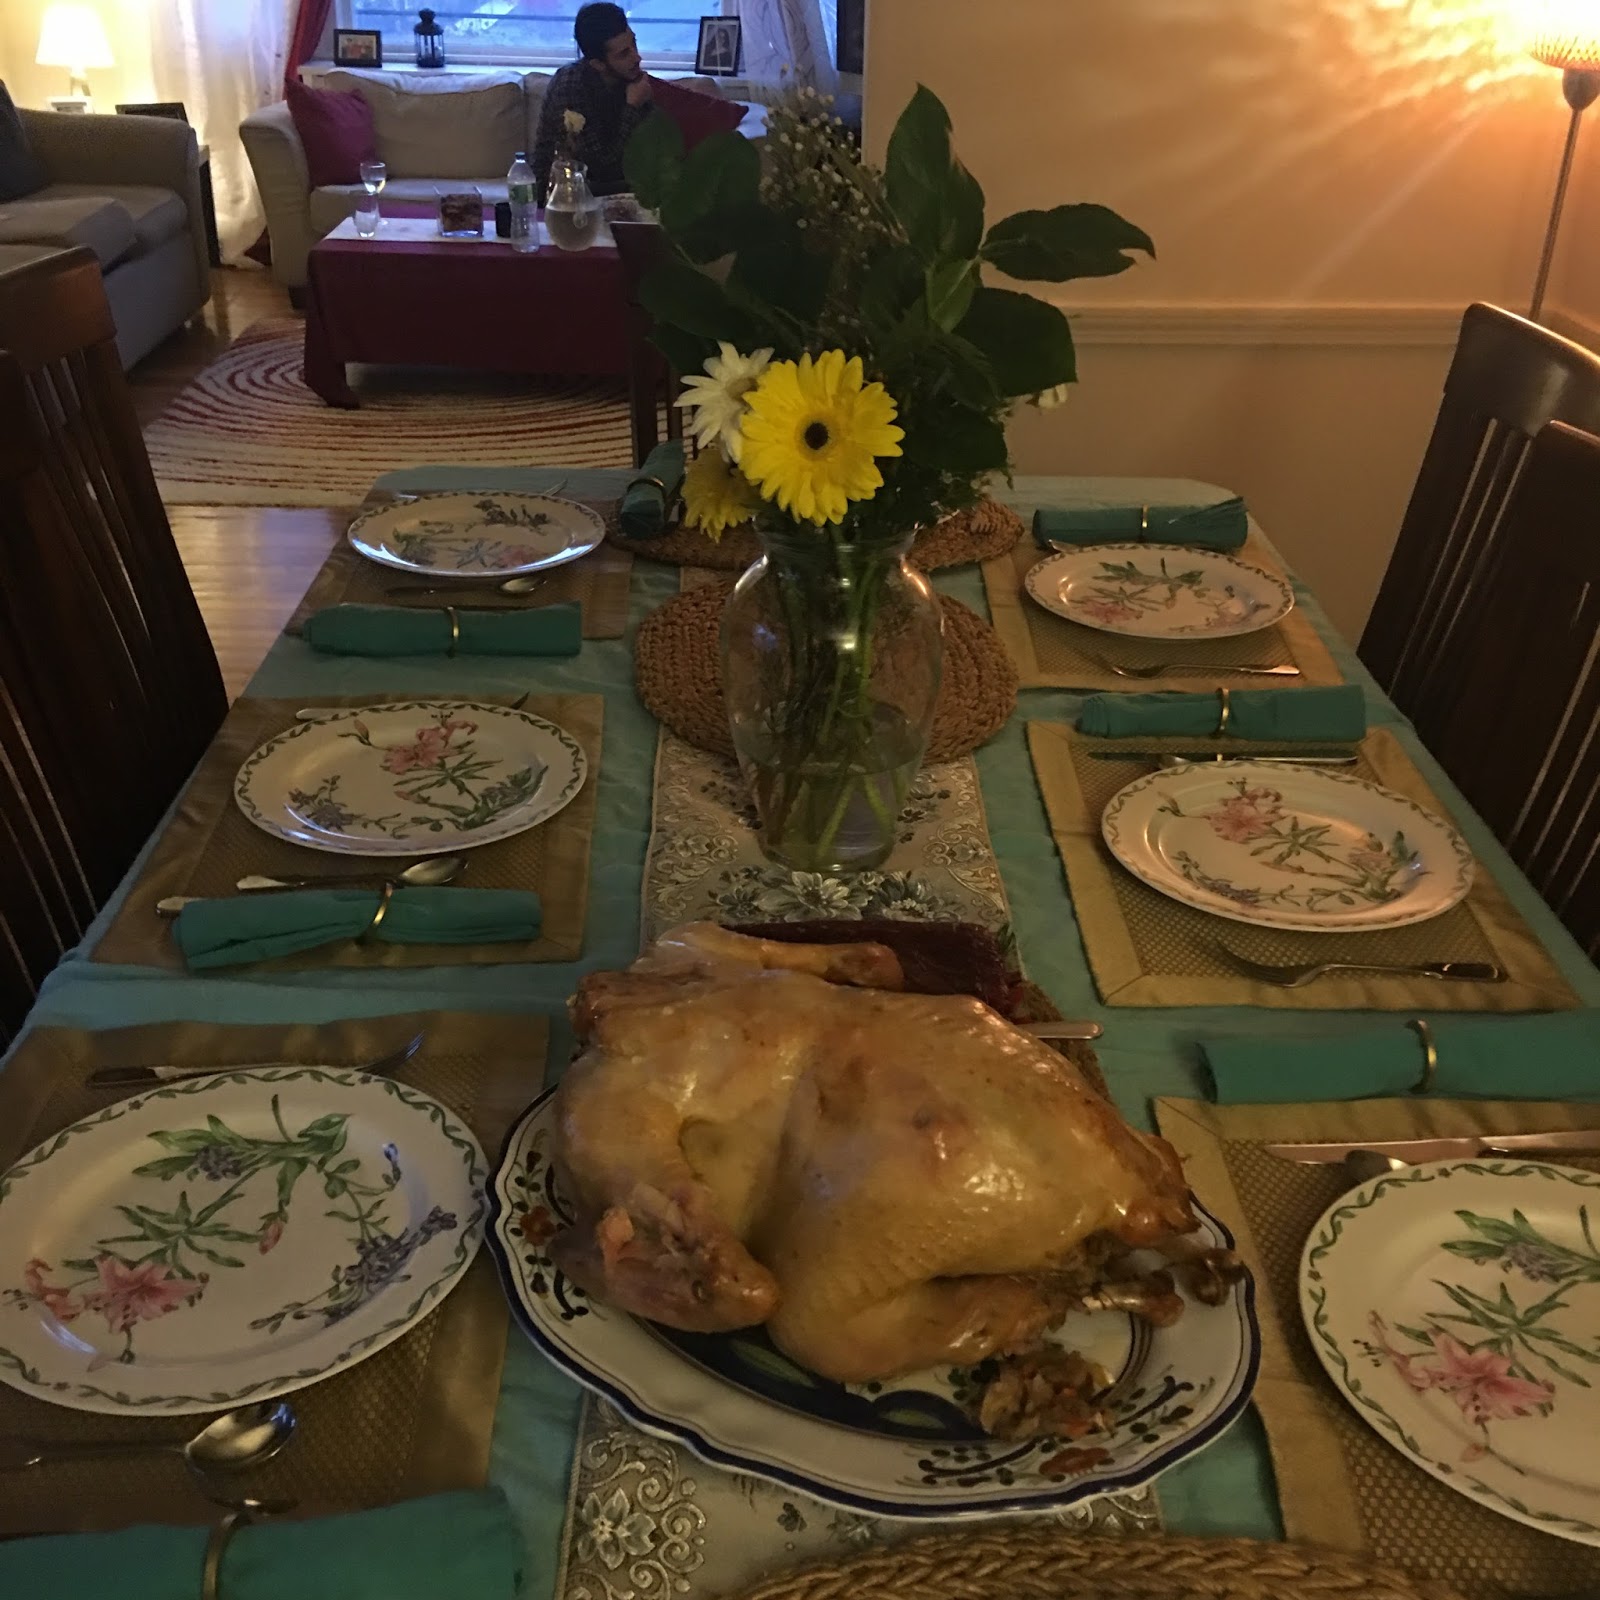
My dining room table!
I had a great time making the American-style Thanksgiving meal this year. This is my fourth time making it without my mother, and this is the first time that I feel like the prep work for the meal went smoothly. I think that partly has to do with my familiarity with the timing of everything. Now, I just know when the turkey and all the sides should go in and out of the oven without having to look it up.

My pretty hilal turkey (and the cranberry sauce to the left)!

I had a few people comment that this was an exceptionally tasty turkey, and asking me what I did to make it so juicy. For me, I think the trick is to brine the turkey for at least two days prior to Thanksgiving. Then, first thing in the morning, I pop the turkey (covered!) into the oven at 300° F and just forget about it. I’ve even put the turkey in at 250° F the night before, and the meat was really falling off the bones by dinnertime, it was that juicy! Americans tend to freak out about whether the turkey will be cooked enough. My logic is that anything in the oven for eight or more hours will most definitely be cooked enough. And, to my knowledge, no one has gotten food poisoning from my turkeys! We got a 12-pound hilal turkey that, surprisingly, was more than enough for eight people! 

Mr. Hilal Turkey taking a brine bath.
I also made sweetpotato casserole, cranberry sauce, green bean casserole, and two types of mashed potatoes (the traditional American kind and then the Middle Eastern olive-oil-and-garlic kind for the lactose intolerant at the table). 

For dessert, I made my mummy-in-law her favorite treat: apple pie bites. They're so easy and fun to make, plus they look like pretty, dainty pastries at the end! 

This week's dessert: Apple pie bites!
By the time I got back to school, I was already missing Syrian food, so I made fetty. You can translate fetty from Arabic to “torn up;” the dish gets its name from the pieces of bread you tear up to create the dish’s base. Specifically, I made fettet djaj which is the “torn up” part of the dish topped with chicken.

Fettet Djaj

To make fetty, you first boil the cut-up chicken (I prefer sizes of one inch or less) in either a pressure cooker for thirty minutes or in a regular pot for 2-3 hours. S has our pressure cooker, so at school I use a regular pot and study while the chicken simmers. Anyway, in the boiling water, add salt, cinnamon sticks, bay leaves, and an onion. Then add the chicken. Towards the end of the boil, fry up pieces of thin, white flat bread for about five minutes and then put them into a pie dish. Fry enough bread to cover the bottom of the dish.

Then you make the rice. I usually fry up vermicelli (“shariyya”) with olive oil at the bottom of the rice pot under the vermicelli is a light golden color, then add soaked short-grain white rice with two parts water to every part rice. I also add a teaspoon of salt for every cup of rice. Stir the rice and then wait for the rice to boil, then bring it down to a simmer, cover the pot, and only open the pot to check on the water level. If there is no visually apparent water, I usually tip the pot sideways to see if any excess water is around. If you taste the rice and it is undercooked, just add no more than a fourth of a cup to the pot and let it simmer covered for a few more minutes. Then put your rice on top of the fried pieces of flat bread in the dish.

Then create a yoghurt sauce. For a pie dish-size meal, go with about a cup and a half of plain yoghurt (“kasi wa nus leben”), one or less than one piece of garlick (“toomi o nus toomi”), and a little bit of water (“shwayyat mai”). I know the measurements sound strange, but this is literally the family recipe passed on orally since forever, and measurements of the recipe is all based on the experience of simply making it! Anyway, pour the yoghurt sauce over the rice and make sure it sinks into the rice and reaches the bottom of the dish. Next, garnish with chopped parsley and top with your drained chicken, and then enjoy a super tasty meal!

A quick note on portion size: I find a pie dish size plate is more than enough for three to four people, depending on how many of those people will want seconds just because they love how tasty it is! To double the size, you could easily use a casserole dish to feed 6-8 and just double the amount of everything in the recipe. Like most of my mummy-in-laws food, this is a non-measuring kind of recipe, so the proportions are very flexible and in the end, the amount of parsley, chicken, or yogurt all depends on your preference! But definitely don't go overboard on the garlic, otherwise no one will want to actually eat the fetty (or kiss you!). 

Anyone who tries this recipe, please let me know how it turns out! Cheers!

Sunday, September 11, 2016

Spray-painting: the Grad Student’s Ultimate Furniture Refurbishing Tool


Happy September, you guys! We’re getting closer to autumn weather, which for me up here in New England means fresh, crisp air and crunchy leaves for me to stomp while I walk around campus. For a lot of student (including me) it also means moving into new spaces and finding furniture. I’m a big fan of inexpensive, reused furniture, so I figured I would talk about my new favorite thing to do on the weekends, which is spray paint!


As a student on a budget, it’s now my go-to method for changing an outdated wooden piece into a fresh, stylish addition. Last week, for example, my housemate and I found this table and this magazine rack in need of some TLC at the Salvation Army.


I had a vision of painting the table white as our new coffee table, and the news rack with with a gold accent on the slats. So on a sunny day I took both of them outside, cleaned each of them thoroughly, and sanded the table down (it had a super thick varnish on it). Then I put one even layer of white paint both on the table and the news rack. I think the most important thing to remember is to get as even of a layer, and wait about ten to fifteen minutes between each layer to let it dry and set just a bit.


The gold slats were the hardest thing. I had to cover all the other parts with painting tape and paper towel.


But, in a weird feat, I engineered my paper towel contraption so that the gold (mostly) ended up on the slats.


So I would highly recommend spray painting as a cheap way to “refurbish” a piece of wooden furniture. If you’re interested in trying it out, I have a few tips: try to spray on a day with low humidity, only spray outside with lots of ventilation, and make sure to paint on either grass or a completely covered surface. Good luck to all you students with the beginning of the school year!