Happy September, you
guys! We’re getting closer to autumn weather, which for me up here in New
England means fresh, crisp air and crunchy leaves for me to stomp while I walk
around campus. For a lot of student (including me) it also means moving into
new spaces and finding furniture. I’m a big fan of inexpensive, reused
furniture, so I figured I would talk about my new favorite thing to do on the
weekends, which is spray paint!
As a student on a
budget, it’s now my go-to method for changing an outdated wooden piece into a
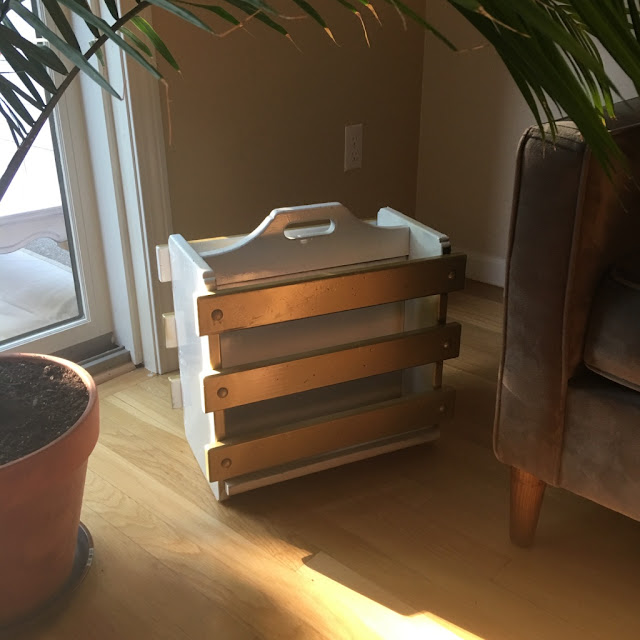
fresh, stylish addition. Last week, for example, my housemate and I found this
table and this magazine rack in need of some TLC at the Salvation Army.
I had a vision of
painting the table white as our new coffee table, and the news rack with with a
gold accent on the slats. So on a sunny day I took both of them outside,
cleaned each of them thoroughly, and sanded the table down (it had a super
thick varnish on it). Then I put one even layer of white paint both on the
table and the news rack. I think the most important thing to remember is to get
as even of a layer, and wait about ten to fifteen minutes between each layer to
let it dry and set just a bit.
The gold slats were
the hardest thing. I had to cover all the other parts with painting tape and
paper towel.
But, in a weird feat,
I engineered my paper towel contraption so that the gold (mostly) ended up on
the slats.
So I would highly
recommend spray painting as a cheap way to “refurbish” a piece of wooden
furniture. If you’re interested in trying it out, I have a few tips: try to
spray on a day with low humidity, only spray outside with lots of ventilation,
and make sure to paint on either grass or a completely covered surface. Good
luck to all you students with the beginning of the school year!


No comments :
Post a Comment